Gallery Wall Layout Guide: How to Plan a Multi-Piece Display
Buyer's guide · 6 min read
Gallery walls look casual but they live or die by planning. A successful one feels intentional even when the pieces vary in size, color, and frame style. Here's how to do it without rehanging six times.
Step 1: Pick an anchor piece
Every gallery wall needs an anchor — usually the largest single canvas in the cluster. This piece sets the visual center of gravity. A 30×20 or 36×24 works well as an anchor for most gallery walls. Smaller pieces orbit around it.
Step 2: Establish a palette
Mixed sizes are forgiving; mixed palettes are not. Pick a 2–3 color palette and stick to it across every piece. The most reliable formulas:
- Earth tones — terracotta, sage, sand, soft black. See the beige collection
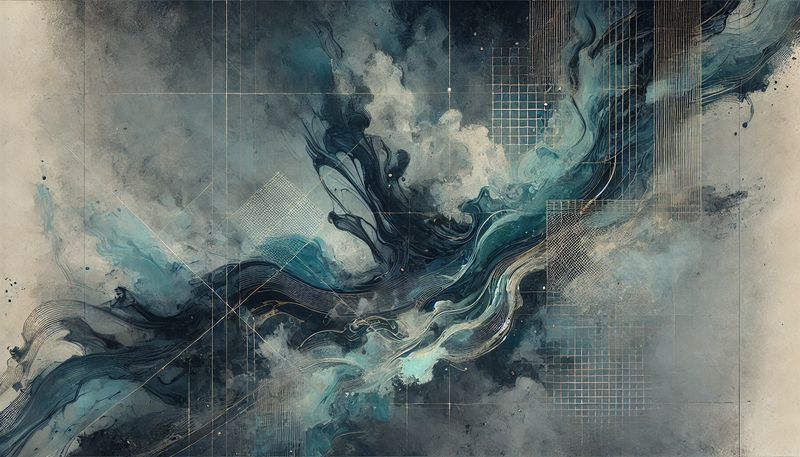
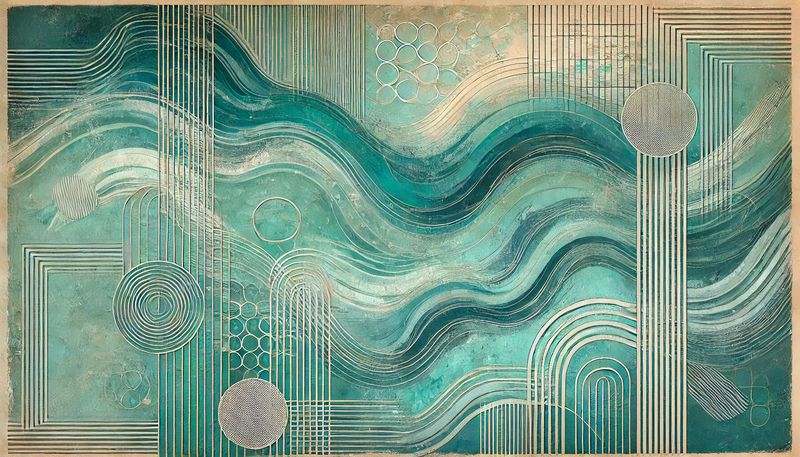
- Cool minimal — gray, white, blue, soft black. See the gray collection
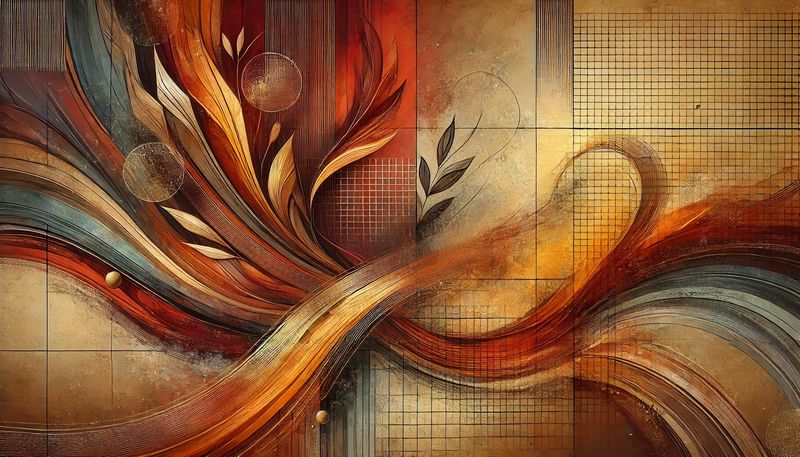
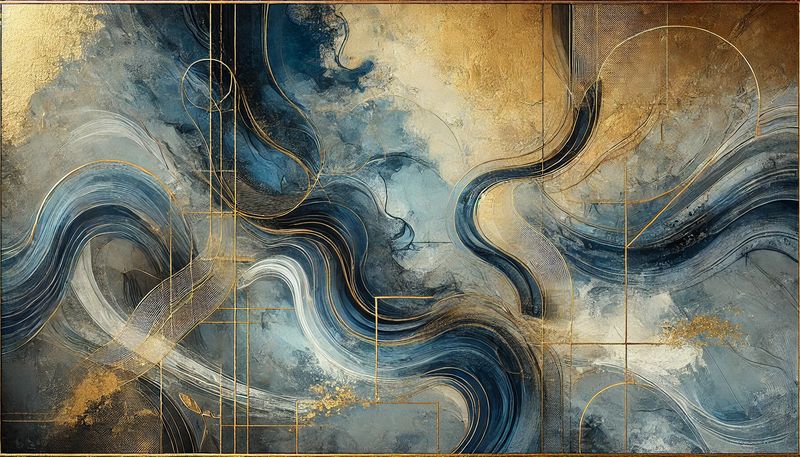
- Warm bold — gold, deep red, burgundy. See the gold collection
Step 3: Lay it out on the floor first
Every interior designer does this and almost no DIYer does. Put the canvases on the floor in front of the wall and rearrange until it feels right. Take a photo from above when you commit. Then transfer to the wall.
Step 4: Spacing
Pieces in a gallery wall should sit roughly 2–3 inches apart. Closer than 2" feels cramped; further than 3" makes them read as separate pieces rather than a single composition. Keep the spacing consistent across the whole wall.
Step 5: Hang from the center, not the top
Find the visual center of your gallery cluster (usually the anchor piece) and hang it at standard art-hanging height — center 57–60 inches from the floor. Build outward from there.
Mistakes to avoid
- Mixing canvas with framed prints with photos with shadowboxes — pick one or two formats max
- Tiny pieces only — at least one canvas needs to be 24" or larger to anchor the cluster
- Chasing perfect symmetry — gallery walls should feel composed, not measured
Browse the full gallery for pieces, or pick a mood: Earth Tone, Bold, Serene.